AirPods Pro Hearing Aid Requirements and Intended Use
Apple provides a clinical-grade Hearing Aid feature on AirPods Pro 2 and AirPods Pro 3 designed for individuals 18 years or older who have perceived mild to moderate hearing loss. It works alongside Media Assist, a feature that enhances the clarity of music, video, and calls. According to Apple’s official support documentation, using these features requires meeting specific prerequisites:
- Supported Earbuds: AirPods Pro 2 or AirPods Pro 3 running the latest firmware, with sufficient charge.
- Host Devices: An iPhone or iPad running the latest software for setup, or a Mac running macOS Sequoia 15.1 or later for adjustments.
- Regional Availability: The feature must be available in your country or region.
- Target Audience: Individuals aged 18 and older with perceived mild to moderate hearing loss.
Configuring Hearing Profiles: On-Device Test vs. Clinical Audiogram
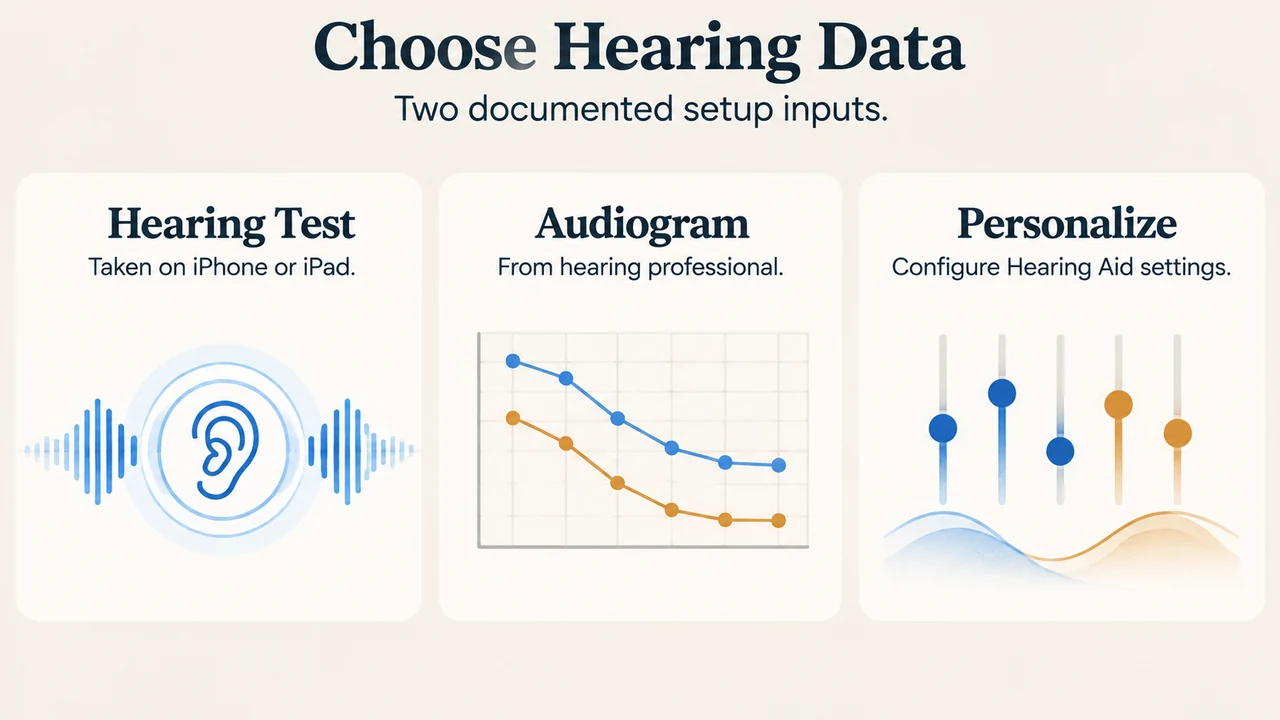
To calibrate amplification to your personal hearing needs, setup requires baseline hearing data. You can supply this data through either an interactive on-device test or an existing audiogram from a hearing healthcare professional.
To begin setup on an iPhone or iPad, place the sufficiently charged AirPods in your ears, verify they are connected, and navigate to Settings > [Your AirPods] > Hearing Health > Hearing Assistance > Set Up Hearing Assistance. From there, choose one of two documented methods:
- Taking an On-Device Hearing Test: If you have not taken the test, tap Take a Hearing Test and follow the onscreen instructions on your iPhone or iPad.
- Entering Clinical Audiogram Results: If you already took the test or want to use an audiogram from a hearing health professional, tap Use a Prior Test Result. To enter an audiogram, tap Add Hearing Test Result and follow the onscreen instructions. After adding the test results, you can access them in the Health app. Alternatively, you can select an existing prior test result from the list and tap Next.
After selecting or entering your test results, tap Set Up Hearing Aid, tap Get Started, tap Next, and tap Turn On Hearing Aid. Depending on your test results, your device may prompt you to turn on Media Assist instead of Hearing Aid.
How Sound Routing Works: Transparency Mode vs. Media Assist
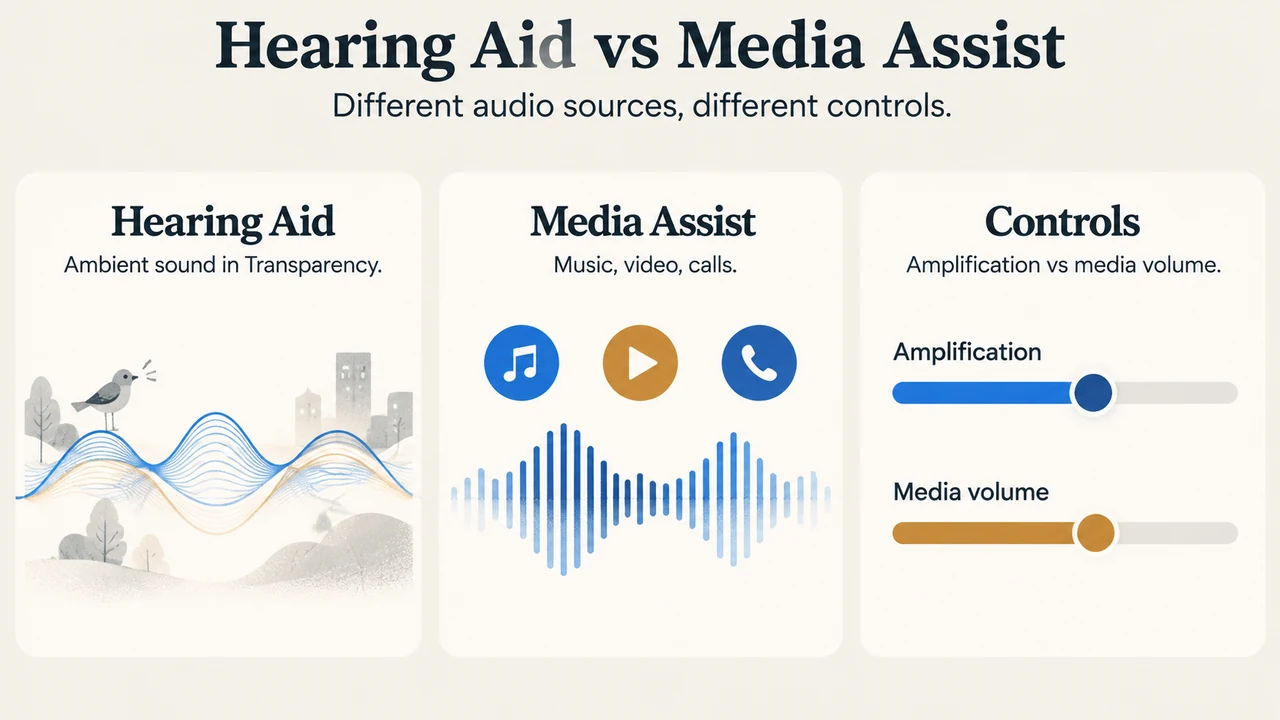
The Hearing Aid feature and Media Assist handle audio streams under separate rules:
| Audio Dimension | Hearing Aid Feature | Media Assist Feature |
|---|---|---|
| Target Sound Source | Sounds in your environment | Music, video, and calls (phone calls and FaceTime) |
| Noise Control Mode | Amplifies ambient sounds only in Transparency mode | Applies clarity adjustments across all noise control modes |
| Volume & Gain Controls | Dedicated Amplification controls (Settings / Control Center / swipe) | Physical volume buttons, Control Center volume slider, app controls |
| Profile Source | On-device hearing test or audiogram results | Applies audio adjustments based on your hearing test results |
The Hearing Aid feature amplifies ambient sound only when your AirPods Pro are in Transparency mode. By contrast, Media Assist applies adjustments across all noise control modes. In settings, you can toggle Adjust Music and Video and Adjust Calls and FaceTime to choose which media streams receive adjustments.
Adjusting Amplification and Audio Profiles
Physical volume buttons on your device adjust media playback volume rather than Hearing Aid amplification. To adjust environmental sound levels and profiles, use Settings or Control Center:
- Control Center Volume Separation: On an iPhone or iPad, open Control Center, touch and hold the volume control, and adjust the amplification control. This allows you to listen to media while still receiving Hearing Aid amplification, blending the two sources to suit your needs. Control Center also includes Hearing Assistance controls where you can adjust tone, ambient noise reduction, Own Voice Amplification, and Conversation Boost.
- Detailed Settings Adjustments: Under Settings > [Your AirPods] > Hearing Health > Hearing Assistance > Adjustments on iPhone or iPad (or under System Settings > [Your AirPods] > Hearing Health > Adjustments on macOS Sequoia 15.1 or later), you can adjust:
- Amplification: Drag the Amplification slider left or right to change how much ambient sound is amplified. Turning on Swipe to Control Amplification lets you swipe up or down on the force sensor, which works only in Transparency mode when no media is playing on your paired device.
- Tone: Drag the slider right for a brighter sound, or left for a darker tone.
- Balance: Drag the Balance slider left or right between earbuds.
- Ambient Noise Reduction: Drag the slider right to decrease environmental noise like fans or road noise.
- Conversation Boost: Focuses your AirPods Pro on the person speaking directly in front of you during one-on-one conversations.
- Apple Watch and Mac Controls: On an Apple Watch, open Control Center, tap the Hearing Aid button, and drag the slider. On a Mac, click the AirPods Pro icon in the menu bar to adjust amplification, while managing media volume with regular volume controls or physical buttons.
Operational Boundaries and Standalone Behavior
Hearing Aid settings are stored directly on your AirPods. If your paired iPhone or iPad is not nearby, Hearing Aid keeps working using your most recent settings. Documented operational boundaries include:
- Transparency Dependency: Ambient amplification functions only when Transparency mode is active.
- Carrying Over Settings Across Devices: When you change settings for your AirPods Pro 2 or AirPods Pro 3, those settings carry over to your other devices. If you use multiple sets of AirPods, you must set up each set separately.
- Gradual Adjustment: Adapting to the Hearing Aid feature can take time. Apple recommends making small setting changes over time as you adjust.
Text version of the diagrams
- Hearing Aid vs Media Assist: Hearing Aid — Ambient sound in Transparency; Media Assist — Music, video, calls; Controls — Amplification vs media volume
- Choose Hearing Data: Hearing Test — Taken on iPhone or iPad; Audiogram — From hearing professional; Personalize — Configure Hearing Aid settings
Research Methodology and Limitations
This explainer was prepared solely from the supplied public source excerpt of Apple Support article 120992 (“Use the Hearing Aid feature on your AirPods Pro 2 or AirPods Pro 3”, published September 14, 2026). Material limits include the lack of accessible competing coverage for comparative analysis, and no clinical trials, user testing, or hands-on hardware benchmarks were conducted.